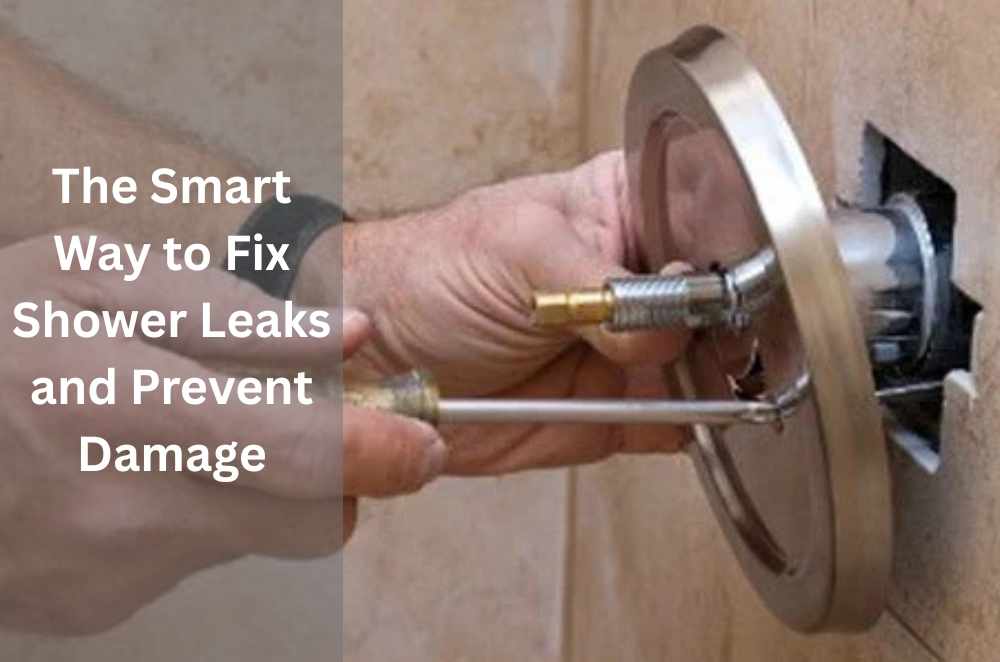
It always starts small — a damp spot on the wall, a bit of mould creeping along the grout, a soft patch in the floorboards just outside the bathroom. At first, you might shrug it off. But speaking from experience, that’s when the damage is already underway.
A leaking shower isn’t just annoying. It’s sneaky. At one of my rentals, what looked like a bit of cracked grout turned into a full-blown water intrusion. By the time we opened up the wall, we found warped timber, bloated skirting boards, and a carpet that reeked of damp. Thousands of dollars — all because we waited too long.
So, if your gut’s telling you something’s off, trust it. Here’s how to fix a leak in your shower smartly — and stop it from causing more trouble down the line.
Why shower leaks are more dangerous than they look
It’s easy to underestimate how destructive water can be, especially when it’s out of sight.
Even a slow trickle behind the wall or under tiles can:
Eat away at the structure: Timber frames rot quietly, concrete slabs erode.
Encourage mould: The dark, damp environment is perfect for spores.
Affect your health: Mould can mess with your breathing and allergies.
Cost a fortune: What could’ve been a quick seal job becomes a full bathroom strip-out.
If you're not sure where to start, the safest move is to get professional help to fix the leaky shower before hidden damage spreads too far.
What causes most shower leaks?
In most homes, the leak is a mix of old age and wear and tear. But here’s where to look:
Cracked or missing grout
Small gaps let water seep below the tiles.Failed waterproofing membrane
When the layer beneath your tiles breaks down, water flows right into the structure.Loose tiles
If tiles shift, the seal breaks — even if everything looks fine on the surface.Aged silicone joints
Around screens, corners, and doors, silicone hardens and shrinks over time.Shifting foundations
Older homes settle, causing micro-movements that slowly crack seals.
Smells musty? Mould keeps coming back? That’s your sign, it’s not just surface-level.
Should you DIY or call a pro?
I get it — the temptation to try fixing it yourself is strong. And for some jobs, that’s fine. But it’s important to know your limits.
What you can tackle yourself:
Removing and replacing old silicone
Touch-up grouting small cracks
Unclogging drains to stop water pooling
Reapplying sealant spray every year
When to call in a professional:
Water is affecting the nearby rooms or the flooring
Tiles feel soft or hollow
There’s swelling in the walls or skirting
You can’t pinpoint where it’s coming from
Pro technicians have tools like moisture meters and thermal cameras. They’ll find the root cause, not just patch over it.
What a typical repair looks like
Here’s what usually happens when you bring in a specialist:
Leak inspection
They’ll test around the area using non-invasive tools to pinpoint the source.Prep work
That means removing old grout, cleaning off mould, and clearing debris.Regrouting and sealing
High-grade epoxy grout is used, along with flexible silicone in joints.Fixing or replacing membranes
If needed, they’ll patch or redo the waterproofing layer.Final testing
They'll do pressure or flood tests to make sure the leak’s properly sealed.
Some companies even offer no-tile-removal options, which can save you a lot of hassle (and mess).
What the rules say about water damage
In New South Wales, it’s not just about comfort — there are legal responsibilities. If you’re renting or managing a property, you’re expected to keep bathrooms safe and dry.
Fair Trading NSW outlines this clearly: tenants can request urgent action if damage makes the home unsafe. And if you, as the owner, ignore signs of water damage, you could be held responsible for resulting mould or health issues.
You can read more about water damage in the bathroom.
How to stop leaks from coming back
Once you’ve fixed a leak, prevention is everything. A few simple habits can go a long way:
Inspect your shower every few months, especially after heavy rain or long holidays.
Keep the exhaust fan on or windows open — moisture needs to escape.
Clean drains regularly — blockages lead to overflow and pressure on seals.
Use sealant spray every year or two to reinforce joints.
Avoid harsh chemical cleaners — they break down grout and silicone.
At my place, I give the bathroom a five-minute check while I’m waiting for the kettle to boil. It sounds minor, but I’ve caught early signs that saved us hundreds.
Want more tips? Check out these shower waterproofing tips.
Thinking about renovating?
Sometimes, fixing a leak is just buying time. If your bathroom is pushing 15–20 years old, and problems keep popping up, a renovation might be the smarter long-term play.
Here’s when to consider a full reno:
You're seeing leaks every year or so
The waterproofing has failed in more than one area
You’re planning to update the bathroom anyway
During a renovation, you can install:
Larger tiles (fewer grout lines = fewer weak spots)
Newer membranes with long-term warranties
Better drainage layouts
Ventilation fans and updated plumbing
If you’re going that route, use a proper bathroom renovation checklist to plan it out thoroughly.
Final thoughts
A leaking shower might not feel urgent — until it causes real damage. If you’re seeing signs like cracking, bubbling paint, or damp smells, don’t put it off. Get it checked, get it fixed, and take some steps to make sure it doesn’t happen again.
These repairs aren’t just about avoiding mould or mess — they’re about protecting the value of your home.
So, if you’re noticing something off after your morning shower? Don’t wait. It’s easier to act now than to clean up later.


Write a comment ...